we are going to tell you about Traffic Stars. If your website is not getting approved on Google Adsense, you are submitting your website on Google Adsense again and again, but due to some reason, your website is not getting approved and there is some kind of ad on your website or there is no monetization and you want to earn some revenue from your website, then you can get the approval of Traffic Stars by reading this blog post completely and we have made a full video on this on YouTube, the link of which you will find below. If you like this blog post, then do comment on this blog post. In this blog post, we are going to tell you the complete review of Traffic Stars, how you have to create your account, how to submit after creating your account and after submission, after approval, how you can place ads on your website. After placing ads, when there is a little traffic on your website. If it comes, then you are going to earn here on the basis of impressions of those ads. You have to read this blog post completely and only after that you have to submit your website for approval, otherwise you cannot get your website approved here. You have to get complete information and only after that you can get this approval.
Monetag Best Adsense Alternative Website Full Review :- Read More
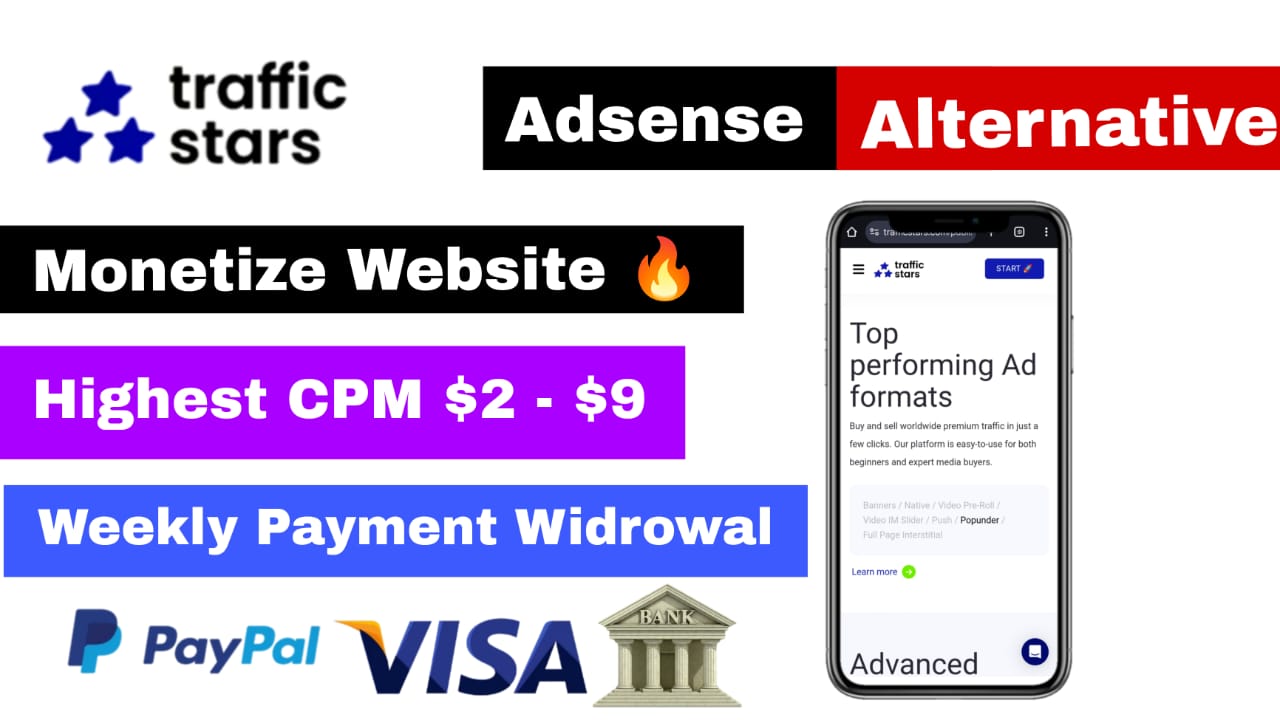
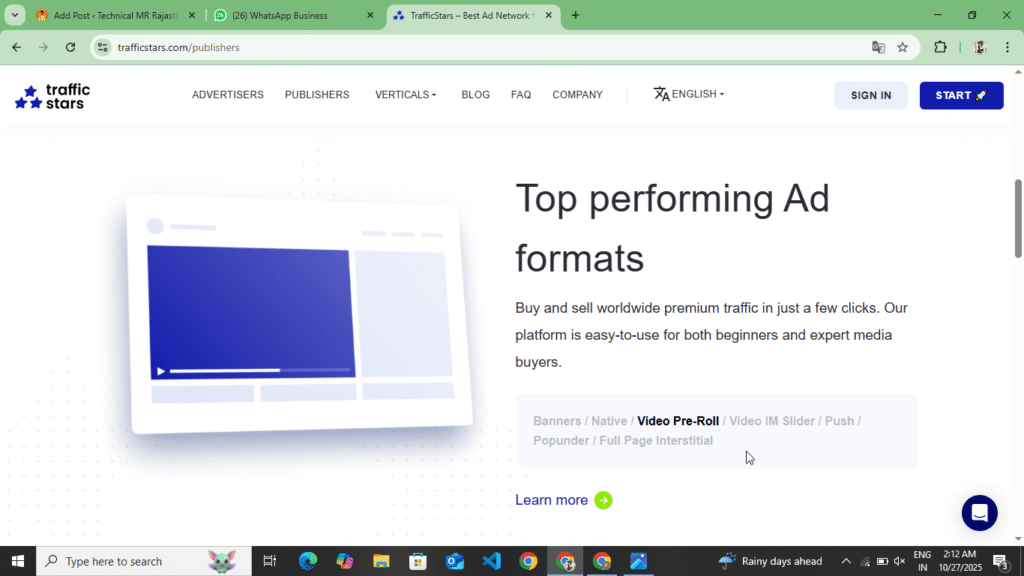
What Is Traffic Stars
Traffic Stars is an AdSense alternative website. If your website isn’t approved by Google Ads, you can get it approved here. It allows you to place ads on your website if you have good content and a little traffic. Through those ads, you’re paid some revenue, like they keep 50%, and you get 50%. You’re paid based on the number of users who visit your website. Through Traffic Stars, you’re paid some revenue based on the number of ads displayed on your website and their impressions. This is an AI-powered website where you can advertise your website. You also see the ad option. If you want to generate leads on your website, you need to create an account in the Advertisements section, which will generate leads and bring visitors to your website. In this way, you can create an account in both the Advertisements section and the Publisher section in Traffic Stars. To monetize your website, go to Publicer and if you want to show ads on your website and generate leads, you have to create your account in Advertising, only after that you will understand everything here.
How to create your account in Publisher
If you want to create your account in Publisher and want to monetize your website, then by following the following points you can create your account in Publisher and get your website monetized. We will teach you to create two types of accounts, one of Publisher and the other will be Advertisement. If you want to advertise any website and want to generate leads in it, then follow the point related to Advertisement and if you want to monetize the website, then read the following point completely.
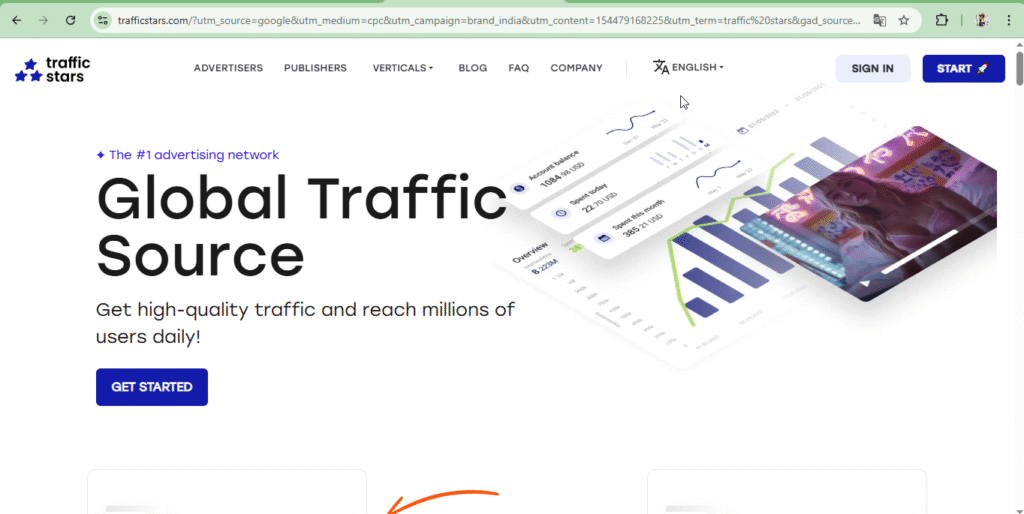
- First of all, you have to search for Traffic Star on your Chorma browser or any other browser. You will find the link at the bottom. As soon as you click on it, the official website of Traffic Star will open in front of you.
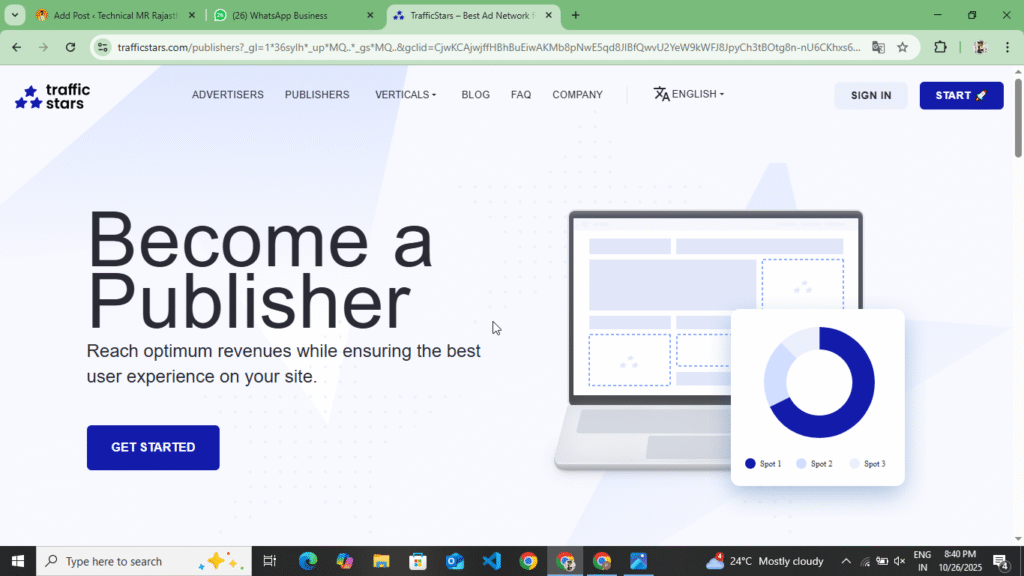
- Now after the website opens, you will see the option of Publisher at the top, you have to click on it, as soon as you click on the option of Publisher, the entire website of a publisher will open in front of you.
- Now you can get complete information on this website about what kind of ads you get to see here, how you get revenue here, how much CPM you get to see and what kind of dashboard statistics you get to see of the publisher, you get to see all this information here.
- Now you will see the option of Start on the top, you have to click on it, as soon as you click on it, you have to select the option of I Am Publisher and click on the option of Next, as soon as you click on the option of Next, you will see a form, you have to fill that form completely.
- Now a form will open in front of you. In that form, you have to enter your Gmail address, password and privacy policy and after filling the captcha, click on the Create Account option. As soon as you click on it, you will receive an email on your Gmail in which you have to verify your account.
- Now as soon as you verify your account, a website dashboard will open in front of you and there you will see the option of statistics, just below it you will see the option of Create Stream, you have to click on it.
- Now, after clicking on the Create Stream option, you have to enter the domain and URL of your website and click on the Create Stream option. As soon as you click there, you have to verify the ownership of your website. You can also verify the ownership of your website by uploading their security key in Meta Tag, Root File. By adopting one of these methods, you have to verify the ownership of your website and place their Ads Txt on your website.
- Now after doing all this, your website will be verified for ownership and will go for review. As soon as your website is approved, you will receive an email on your Gmail. Your account will also be verified through that email and your website will be approved.
- Now after the website is approved, you have to generate your Ads Code and place it on your website. Before generating the Ads Code, you have to place the Ads Txt correctly on your website. As soon as the Ads Txt is added, the ads that will be placed on your website will also become active.
- From this website, you can see In Page Ads, Native Ads, Banner Ads, Video Ads, Pre Roll Video Ads, Push Ads, Popunder Ads on your website. On generating the Ads Code here, you will be told where to place the Ads on your website and which codes to place in your Head Tag, Body Tag and how. You will also get to see the information on the top when you generate the Ads Code.
- After generating the Ads Code, the Ads will go live on your website and appear in front of you. As soon as a user comes to your website, he clicks on the Ads and based on the impressions, you get to see the earnings here. Here you get to see the CPM.
In this way, you can create your publisher account in Traffic Star and submit your website for monetization. As soon as your website gets approved here, you will receive a Gmail through which you can find out whether your website has been approved or not and after that, you can generate Ads Code and place it on your website and through those ads, you get some revenue. If your website has been approved by Google Adsense, then you can get approval here now and you can increase the revenue by placing these ads along with Google Adsense ads. Here you also get to see video ads, you can place that too on your website.
How to create your account in Advertising
You can create your account in advertising by following the following steps. If you want to generate some leads on your website and increase the traffic of your website then follow the following points.
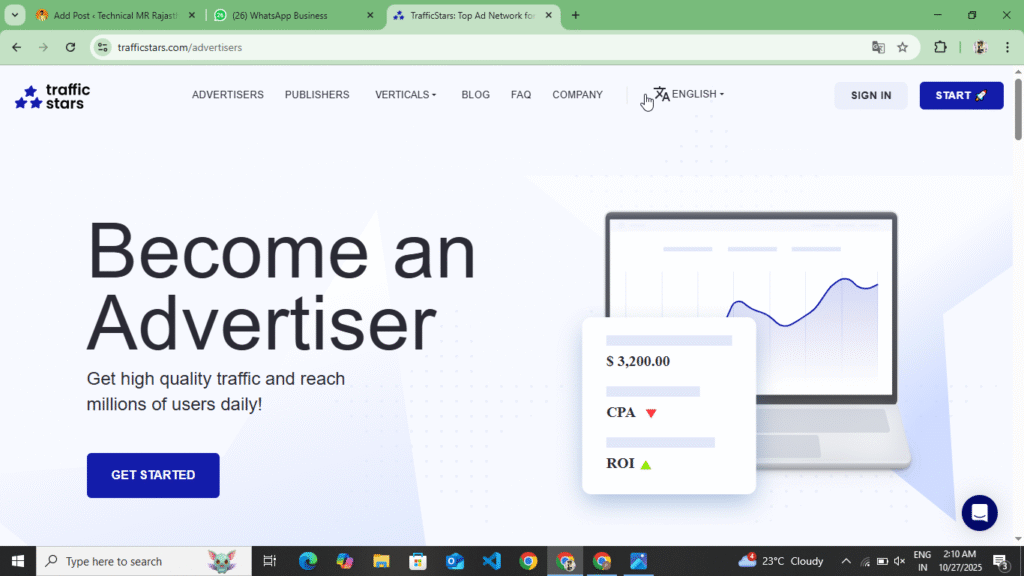
- First of all, you have to search Traffic Star in your browser and the first website you will find, click on it and open this website. Now, as you open this website here, you will see the sign up option at the top.
- Now as soon as you click on the sign up option, you have to select the advertisement and click on the next option. Now on clicking, you have to enter your Gmail password, expect their privacy policy, fill the captcha and click on the create account option.
- Now, after clicking on the Create Account option, you will receive an email on your Gmail account. You have to verify your account through that email. After verifying the account, you will see the Create Campaign option. Now, before creating your campaign, you have to add some funds here.
- Now to add funds, you will see the option of Billing and Payments. Click on it. As soon as you click on it, you will see the option of Add Funds. Click on it. Here you have to add a minimum of $50. Only after that you can make the campaign live. Now you have to add $50.
- Now as soon as you add, you will see the option of Create Campaign at the top, you have to click on it and create your campaign. While creating your campaign, you have to upload the title of the campaign and the URL and image of the website to which you want to take traffic and make the campaign live.
- As soon as you make the campaign live, your campaign goes into processing and after some time it gets activated and goes live and traffic starts coming on it, so in this way you can give advertisements here.
By following all these points, you can create your account in advertising on Traffic Stars. After creating your account in advertising, you first have to add funds here, only after that you can make your campaign live. Here you have to add funds up to a minimum of $50 and you can add any maximum amount and when you make your campaign live in the fund, you have to select one of the two, CPM or CPC. If you select CPM, then your funds get reduced here on the basis of impressions and if you select CPC, then your payment is deducted here on the basis of clicks. So, in this way, you can make the campaign live here and generate leads on your website.
Type Of Ads In Traffic Stars
If you get your website approved here, then the following types of ads are seen here and the ads with high CPC and high CPM are as follows.
- Banner Ads :- Here you get to see Banner Ads just like Google Adsense. In this, you earn on the basis of impressions in Banner Ads and here you get to see CPM whose CPM is high. You can place Banner Ads in your post in the header, footer and above the image between the content. For this, you can also use Ads Insert Plugin.
- Native Ads :- Native ads always have a high CPM. If you place these ads on your website, you will see a high CPM. You can also add them above the header, in the footer, between the content, or on the homepage.
- Video Ads :- Traffic Star features video ads that can be placed between content and in sliders.
- Push Ads :- Here you can also see Push Ads. If someone enables Push notifications, only then you earn here, otherwise you will not earn from that ad.
- Popunder Ads :- Popunder Ads always have a high CPM. By placing them, you can increase the CPM on your website, but there is only one problem with this, that there are repeated redirections on your website, due to which your website gets listed on the SPM in Google, so you should reduce its use.
- Full Page Interstitial Ads :- This ad appears on the full page when a user visits your website. Its CPM is also always high. You can also place it on your website.
You can find these types of ads on the Traffic Stars website. If you monetize your website, you can place these ads on your website and earn money. If your website is approved by Google AdSense, you can also place these ads. However, you should only place banner ads here; the rest should not be placed on AdSense-approved websites.
How To विड्रोल Revenue In Traffic Stars
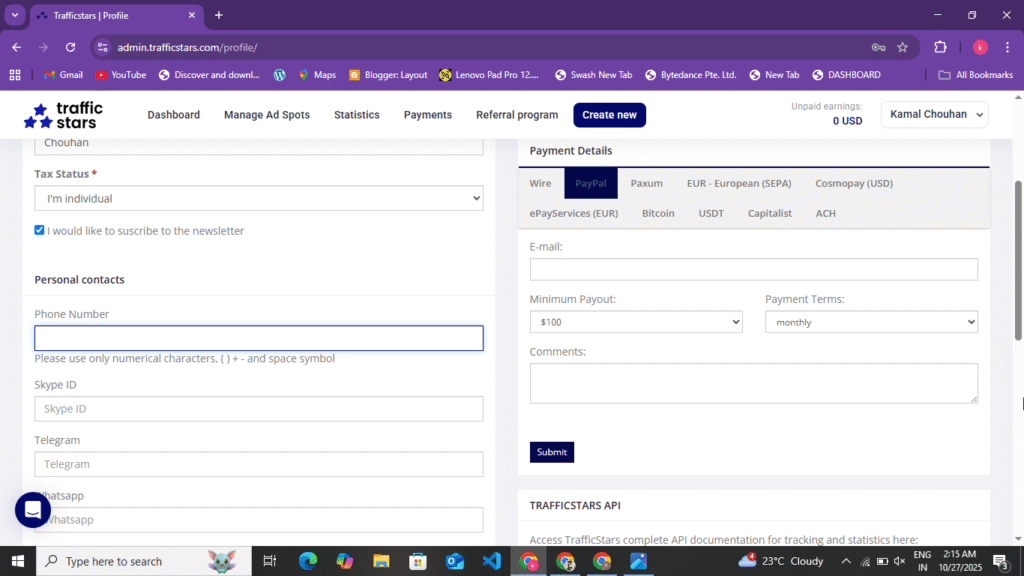
You can withdraw your revenue from the traffic level to your bank account and Paypal only. The minimum withdrawal here is $100 and the maximum you can withdraw is any number. You can withdraw your payment by following the following points.
- Paypal : – Here, if you want to withdraw your amount in Paypal, then you must have $100 here. If you have $100, then you have to go to your profile and click on the payment option. Now, after going there, you have to select a method in which you can select Paypal. Now you have to enter the Gmail of Paypal and click on the option at the bottom. Now your payment will be transferred to your Paypal account between 1st to 2nd. Here, your payment is withdrawn in the weekly account.
- Bank Transfer :- Here you can also withdraw your amount through bank transfer. If you want to withdraw from the bank, then here you will see the option of Wire Transfer in which you can withdraw a minimum $500. Now as soon as $500 is completed in your account, then here you have to select the Wire Transfer option. Fill your account number, SWIFT code and IFSC code here and click on the option of From. After that, the amount will be transferred to your bank account.
Now here you get many other methods as well but these two are the best methods, in both of these you have to withdraw your payment here so that your amount and revenue can come safely in your Paypal and bank account.
Some Words Traffic Stars Website
You can get approval on Traffic Stars by reading this blog post. Before you go for approval on Traffic Stars, your website should have some traffic which is necessary to be visible on Semresh. Only after that you should submit your website for approval here. Before that, you should have created a Privacy Policy, About Us, Contact Us and Disclaimer page on your website and the navigation should be correct. After that, you can get approval by submitting your website here. Here you get to see a maximum CPM of $15, minimum CPM of $1 and here you also earn on the basis of CPC. If there are more clicks on the ads on your website, then you get to see more earnings here. Here you get to see a minimum withdrawal of $100. The maximum you can get done is any amount. In this website you get to see Banner Ads, Native Ads, Push Notification Ads, Video Ads, Popunder Ads. Before getting this website approved, read this blog post completely and If you liked this blog post, please comment.
Disclaimer :- This blog post written on this website is not any kind of sponsorship or promotion. It is written for the information of the user and to give a review of this website. Whatever is written in it about this website is 100% correct and after reviewing this website, the user can create his account and get his website monetized.