
If your website isn’t getting approved by Google AdSense, or you’re looking for a unique earning alternative to AdSense, Kadam.net could be a better option for you. It’s a high-CPM, advertising-friendly ad network that many publishers are using on their blogs and mobile apps. You can create an account in two ways: those who want to run ads for their website to drive traffic and app installations can run ads here and create an advertising account. Those who haven’t received Google AdSense approval but want to monetize their website and generate some revenue can use this ad network. Those who monetize their website here and the advertisements they live on here are displayed on the publisher’s website, generating revenue through them.
In this blog post, we willKadam.NetWe are going to give you a complete review of the earning model, CPM rates, website approval process, payment proof details and its benefits, so read this blog post completely and if you like this blog post then do share it with your friends.
How to Run GeoNode Proxy in AdsPower With Full Review :- Read More
What Is Kadam.Net
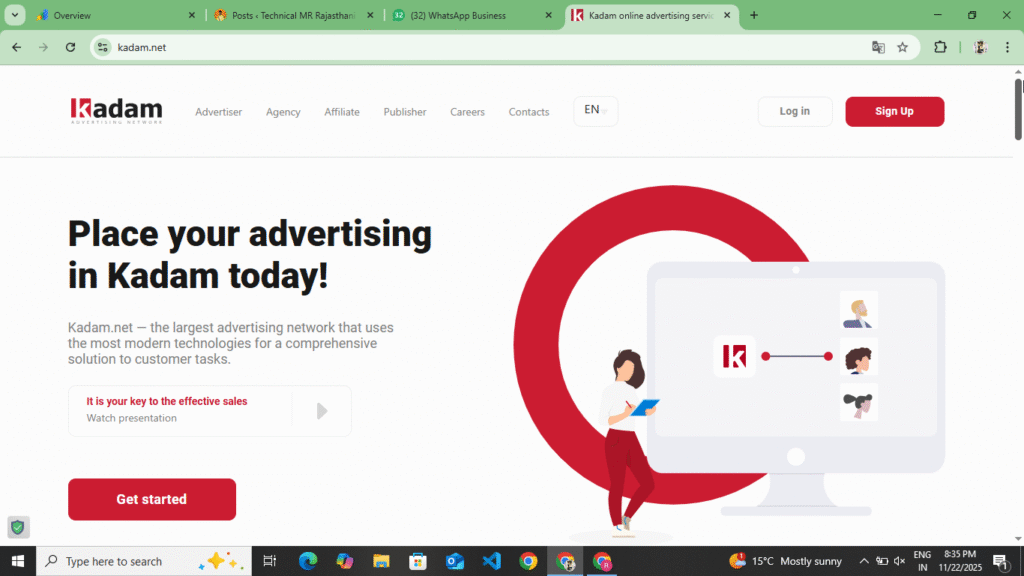
Kadam.Net is a premium advertising network that allows publishers to earn money through Push Ads, Native Ads, Popunder Ads, In-Page Ads, Direct Links. This network is especially good for bloggers whose websites get organic traffic, visitors from social media, traffic from any country, and those who do not have Google AdSense approval, it gives them easy approval. It is famous for simple setup, fast approval, and good CPM. Before getting your website approved here, it is mandatory to have some traffic on your website and it is also necessary to have pages like Privacy Policy, Contact Us, Disclaimer, Terms and Conditions on your website, only then you get approval here.
How To Create Advertisement Account In Kadam.Net
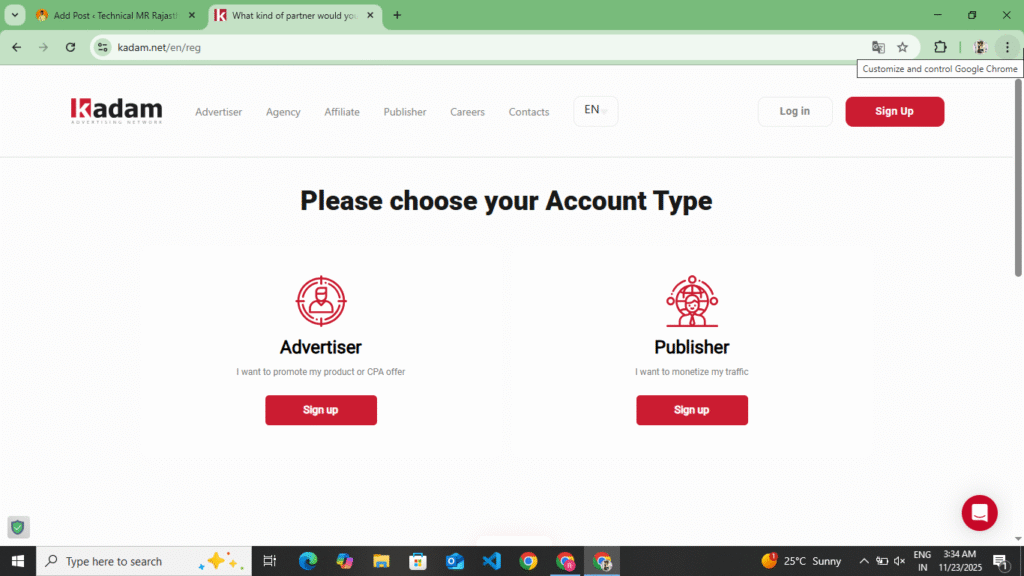
Here you can create your account in two ways. First of all, if you want to get your website approved, then create your account in Publisher and if you want to advertise your website, then create your account in Advertisement. First of all, we will tell you how you can create your account in Advertisement. Create your account by following the following points.
- First, open your browserKadam.NetYou have to search for it or you will find a link at the end of this point. By clicking on it, you will be taken to their official website. As soon as you reach there, you will get to see the entire website. First of all, you have to read all the information carefully once on that website and check its review on Trust Pilot.
- Now you have to choose Advertisement and create your account by entering your name, email address, password and filling in the captcha. As soon as you create the account, you will receive an email on the Gmail account which you entered here. You have to verify your account through that email.
- Now after verifying the account, the dashboard will open in front of you and on the side bar you will see the options of Statistics, Create Campaign and Help and Billing and Payment. First of all, before making your campaign live, you have to click on the Billing and Payment option and add the payment. Here you can add any amount from minimum $10 to maximum. You can add the payment from Paypal, Payoneer, UPI and Crypto.
- Now after adding the payment, you have to create your campaign, you have to come to the dashboard, you will see the option of Create Campaign or Advertisement in the side bar, click on it and click on the option of Create Campaign, as if when you click on the option of Create Campaign, first of all you have to put your name, name of your website and URL of the website, title and description of the website and on the image where you have to make the campaign live, you have to upload the image.
- Now after uploading the image, the most important information is that you have to select CPM and CPC. If you select CPM, then your payment will be deducted on the basis of impressions and if you select CPC, then your payment will be deducted on the basis of clicks. If you give the option to download an app, then you have to select CPC and if you want traffic on your website, then you have to select CPC. Based on this, you can bring more conversions to your campaign and get more installations of the app.
- Now after selecting all these, you have to make the campaign live. Your campaign will remain in processing for some time, after that it will go live. As soon as it goes live, you will start seeing traffic on your website, which you can access with the help of analytics.
- While creating a campaign, you have to carefully select the CPM and CPC and also select the country in which you want to run your campaign. Only after that you have to make the campaign live so that you can get more conversions.
So by reading all this information carefully, you can create your account in advertising and bring traffic to your website and here you have to add a minimum of $10, after that you can create your campaign and make it live, along with this you can add this payment through Crypto currency on Paypal, here you get to see both CPM and CPC, now you can select any of these as per your convenience, here you get to see 150+ countries.
How To Create Publisher Account In Kadam.Net
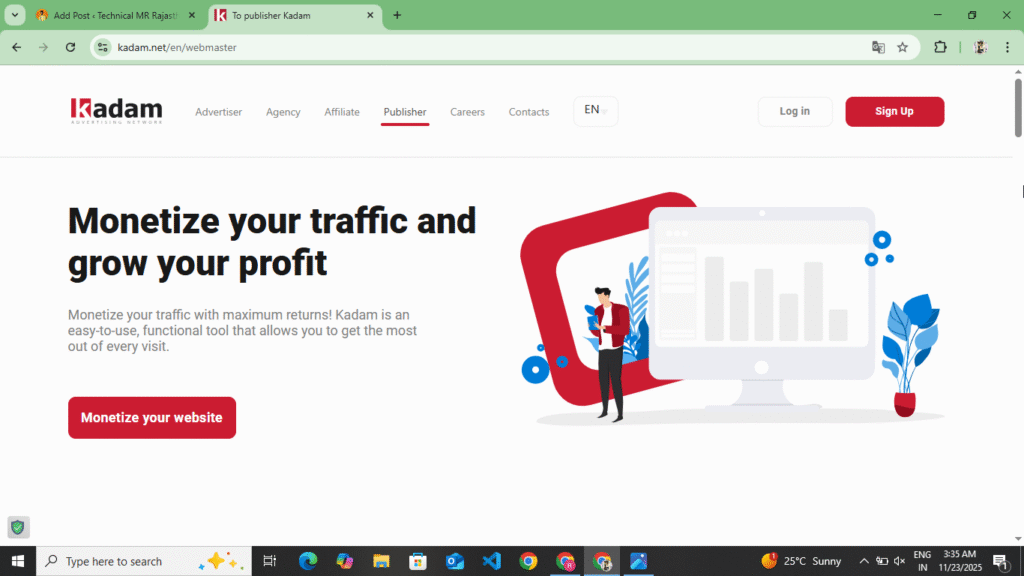
Now you understand how to create your account in Advertising. Now you need to understand how to create your account in Publisher if you want to monetize your website here. You can create your Publisher account by following the following points and by getting your website approved here, you can make your ads live and generate revenue.
- First of all, you have to open any of your browsers andKadam.NetYou have to search for it, as soon as you search, you will find it in the first or second website or at the end of this point you will see their official website, you can access their website by clicking on it.
- Now as soon as you open the website, you will see the publisher option at the top, you have to click on it, as soon as you click on it, you will get to see the official website of the publisher in front of you and there you will get to see some information, you have to read that information carefully once and there you will also get to see all the Ads Types, here you get to see In Page Ads, Popunder Ads, Direct Link Ads and Smart Link Ads and Banner Ads.
- Now to create an account, you will see the Sing Up option at the top, you have to click on it, as soon as you click on it, you have to select the publisher option here, as soon as you select the publisher option, a form will open in front of you, some basic information will be asked in that form like first of all you have to enter your name, after that you have to enter the last name, after that you have to enter the email and enter the password and enter the confirm password and at the bottom you have to enter the URL of your website, you want to monetize the website, add all of them, fill the captcha and click on the create account option.
- Now, when you click on the Create Account option, the Gmail account you added here will receive an email on that Gmail account. You have to verify your account by opening that email. Once you verify your account, you will be taken directly to their dashboard. On the dashboard, you will see the statistics option, where if someone visits your website, you can access how many users have visited your website and how much revenue you have earned from there.
- Now in the side bar you get to see the option of Dashboard Website Country, Help. You get to see the option to verify the ownership of the website which you had added on the dashboard. Here you can verify your ownership in two ways. First of all you can verify it through your Meta Tag and you can also do it by uploading your file in the Root File. You have to select the Meta Tag and click on the Next option. You get to see the Meta Tag. You can add that Tag to your WordPress and Blocker website and verify it.
- Now you can also tag it with the help of a plugin. If you have a WordPress website, then you have to install the Wp Code Header And Footer plugin and paste that code in the header and verify it. If you have a Blogger website, then you have to go to the theme coding and paste that code in the head tag and click on the save option. Now you can verify it through these. After that, you have to come back to the website and click on the verify option there. As soon as you click on the verify option, your website will be verified here and will be submitted for approval.
- Now you get to see the approval in 3 to 4 hours. As soon as your website is approved, you will see the option of generating Ads code in the side bar, you have to click on it. From here you can select Popunder Ads, Notification Ads, In Page Ads and Banner Ads, like I select Banner Ads and click on the generate code option, then your code will be generated and will appear in front of you. You have to copy that code and go to your website. Wherever you want to add it like on the header or footer or between the content, you can paste that code or you can also make the ads live by installing add-in sector plugin in the WordPress website.
So in this way you can submit your website for approval from here, verify the ownership of your website and after the website is approved, you can generate the Ads code and make it live on your website. Before submitting your website for approval here, it is necessary to have Privacy Policy, About Us, Contact Us, Disclaimer page on your website and your website should not be blocked on Google and there should be some traffic also, only then your website gets approved from here. Now after the website is approved, you get to see a minimum withdrawal of $5 from here and you can do any maximum amount. You can take this withdrawal in Paypal, Pay Union and UPI.
Ads Formats In Kadam.Net
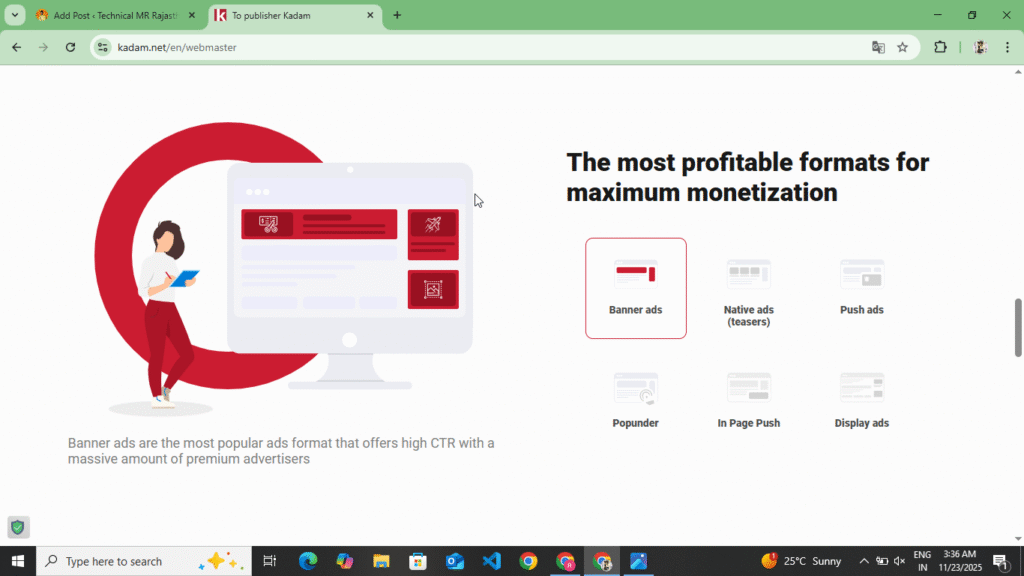
Here you get to see ads of many types, these ads are as follows
- Push Ads: – It appears on your website in the form of notifications and Push Ads have a high CTR.
- Popunder Ads:- These ads open in a new window and offer high earnings but can slightly impact user experience.
- Native Ads: – This is easily added in the middle and bottom of the article and is the most user-friendly and safest option.
- Direct Link Ads: – It starts with a simple URL and can be good and perfect for micro blogging tools sites.
Kadam Earning CPM Rates
CPM depends on your traffic location. By looking at the following table, you can understand how much you earn depending on which country’s traffic comes to your website.
| Country | Approx CPM |
| USA | $3 – $7 |
| UK | $2 – $5 |
| India | $0.50 – $1.50 |
| Indonesia | $0.80 – $2 |
Earning copy increases if your site has US and UK traffic
Kadam Net Payment Method
Kadam.NetOn the website, you can see all the payment proofs and payment methods. Here you can transfer your payment through Paypal, Payoneer, Crypto, Bank Transfer and here you get to see the minimum payout of $5 which is copied from all the websites so that even small bloggers can earn easily.
Kadam Net v/s Google Adsense
| Points | Kada.Net | Adsense |
| Approval | Easy | Difficult |
| CPM | Medium To High | High |
| Ads Quality | Good | Best |
| Best For | New Bloggers | Established |
| Payment Time | Fast | 30 Days |
If your website is not eligible for Google Adsense then Kadam can definitely be the best option.
Some Words In kadam.Net
You can monetize your website by using Kadam website. If your website is not getting approved by Google Adsense and is getting rejected repeatedly, then this can be the best website for you. Here you get instant approval and approval easily in three to four overs. If you have a WordPress or Blogger website, then also your website will be approved here. Before sending your website for approval on this website, it is mandatory to have Privacy Policy, About Us, Contact Us, Terms and Conditions, Disclaimer Page on your website and it is also necessary to have some traffic, only then your website can be approved here. Here you get a minimum CPM of $5 and the maximum you can get is any amount. If your website gets traffic from USA and UK, then you get more earning and CPM is also seen to be higher. Here you get all three CPM, CTR, CPC and if you want to bring traffic to your website by getting your website approved, then you can also use your account in advertising. You can get traffic from here by creating
Disclaimer :- This website review is not a sponsorship or promotion of any kind. This website review is written to provide information to the users and those users who are unable to get Google Adsense approval can monetize their website by using this website, hence a complete review of this website has been written.