In today’s digital age, the need for online privacy, multiple account management, and secure browsing is increasing day by day, especially for those who run multiple accounts on social media, manage e-commerce stores, do affiliate marketing, run ads, and do freelancing, virtual assistant, or agency work. For all these, proxy and anti-detection browser becomes a perfect combination.
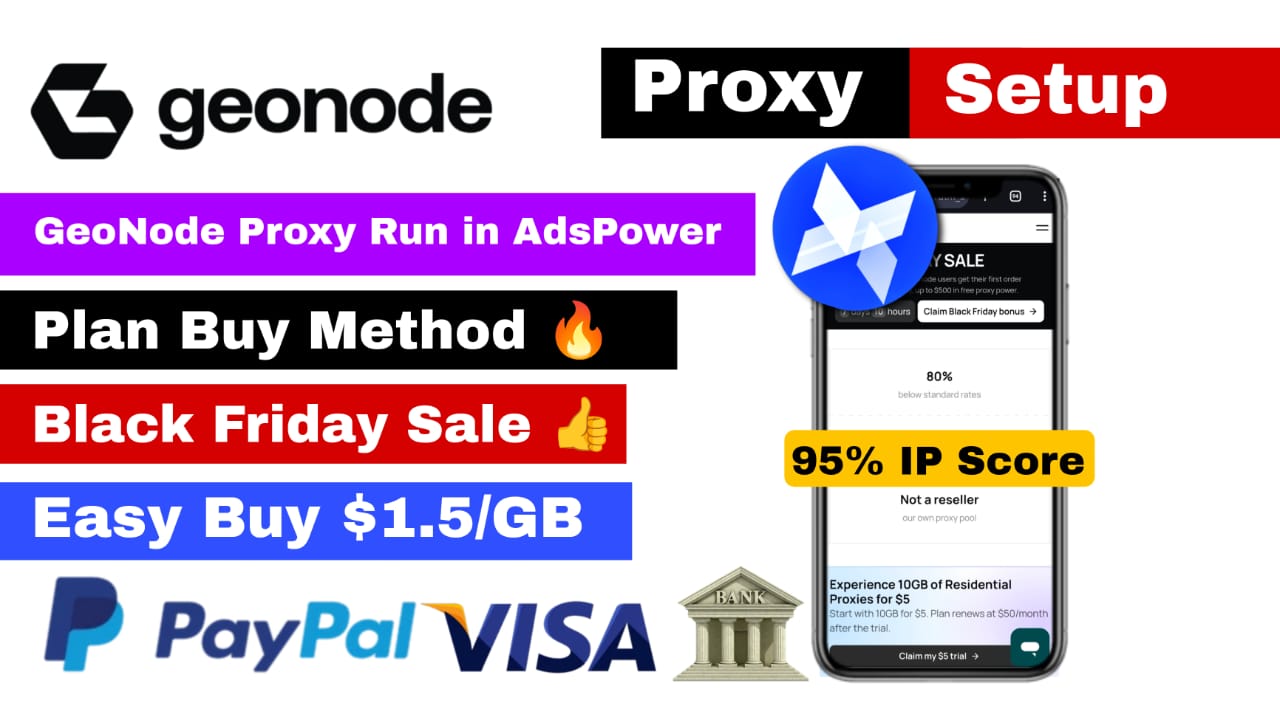
What Is GeoNode Proxy
GeoNode Proxy is a proxy providing website. GeoNode provides residential proxy, statistics proxy and rotating proxy across the world. Here you get IP results of 150+ countries, device, best proxy and fast speed, low price, unlimited bandwidth plan with zero IP leakage. If you are running Instagram Ads, Facebook Ads or have an account on Fiverr, Upwork, then GeoNode Proxy can be completely reliable for you. Here you get more privacy at a low price and you can run this proxy on AdsPower or BitBrowser.
How To Install BitBrowser & Run Proxy In BitBrowser With Full Reviews :- Read More
What Is AdsPower
AdsPower is an anti-degraded browser that changes fingerprints, hides browser identity, allows multiple accounts to run in separate virtual browsers, and allows you to add proxies. It’s also great for teamwork. The combination of GeoNode Proxy and AdsPower is incredibly powerful, offering zero-footprint browsing, a linked profile, multi-account management, and high-privacy processing. It offers all three risks and bans.
Read this block article completely so that you can understand how you can run GeoNode Proxy on AdsPower and just like you setup the proxy on AdsPower, you have to setup and run the proxy in any other browser like BitBrowser, GoLogin and in the same way.
How To Create Account In GeoNode Website

First of all, you should understand how you can create your account on GeoNode Proxy and how you have to buy the plan here. You can create a simple account by following these following points.
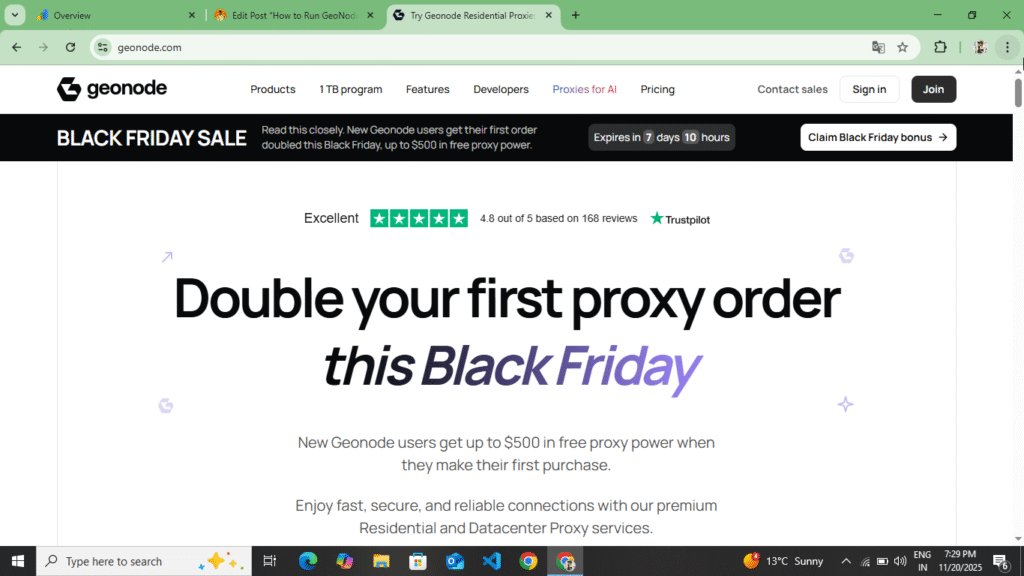
- First of all, you have to open any of your browsers and type GeoNode there. You will find the link at the bottom. Click on that link and the official website of GeoNode will open in front of you.
- Here you get to see many plans, you have to look at them once and read the information given here once, after that you have to buy the plan here.
- To purchase a plan, you also get the option of Free Trial. You can avail that free trial for three days. Now here you have to select Residential Proxy and click on the option of Start Free Trial. If you want to avail the free trial, then here you get 10GB for $5. You have to select it once and click on the option of Next.
- Now as soon as you click on the Next option, you get the option to create your account. Here you get to see two options, one is Continue With Google and the other is to add your Gmail and password. So, select any one of these options. Add your Gmail, add your password, fill the captcha and click on the Create Account option.
- As soon as you click on the Create Account option, the Gmail account you added here will receive a mail on Gmail. You have to verify your account through the mail. Now you have to buy the plan you selected here. You have to buy it by making payment through your debit card, credit card or crypto. As soon as you buy it here, you will be redirected back to this account and the plan you purchased will start showing on the Plan – Dashboard.
- Now to create a proxy, you have to click on the plan option of the plan you have purchased in the sidebar. If you do this for yourself, you will see the option to create a proxy. Now, we are going to tell you separately how you have to create a proxy and how you have to run it on AdsPower.
So in this way you can create your account here and buy a proxy for a free trial. Here, if you want to buy a proxy for a free trial, then you get to see that proxy only for three days, after that the plan is removed and you have to buy a new plan. For this, first of all you have to read all the information carefully, only after that you have to buy a proxy for a free trial here. If you take a proxy for a free trial, then you get a lower price here, and if you do not take it for a free trial, then you get to see $3/GB here, so first of all read the entire information carefully once, only after that buy your proxy here.
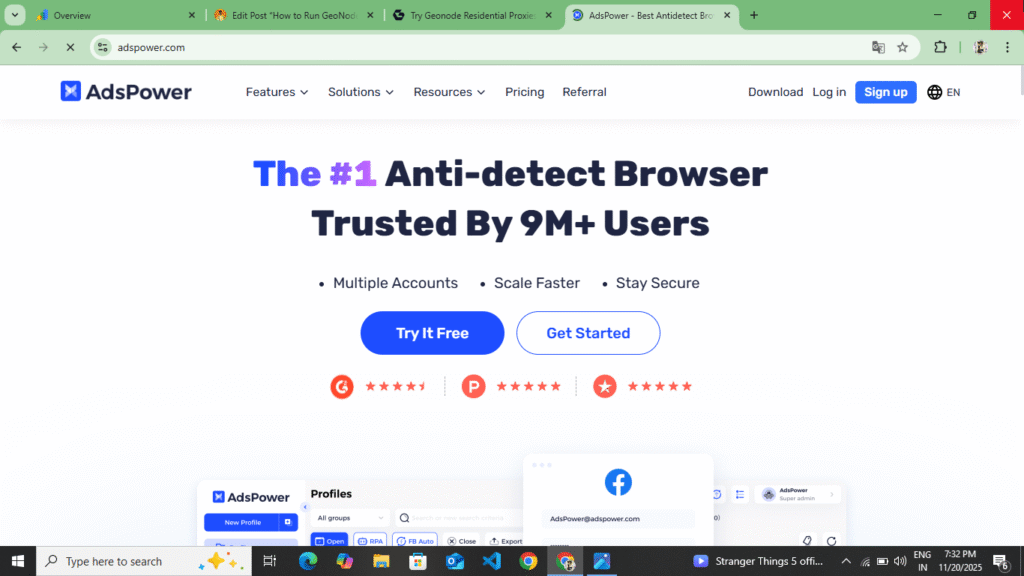
How To Download & Create Account In AdsPower
Before running GeoNode’s proxy on AdsPower, understand how to create and download your account on AdsPower. Follow these steps to download AdsPower and run the proxy.
- First of all, you have to search AdsPower on your browser or you will see a button at the end of these points, Download AdsPower. As soon as you click on it, the official website of AdsPower will open in your software and from there you have to download AdsPower.
- Now as soon as you download AdsPower, it gets downloaded in a zip file on your PC or laptop. You can install it by extracting the zip file from there and running the file in it.
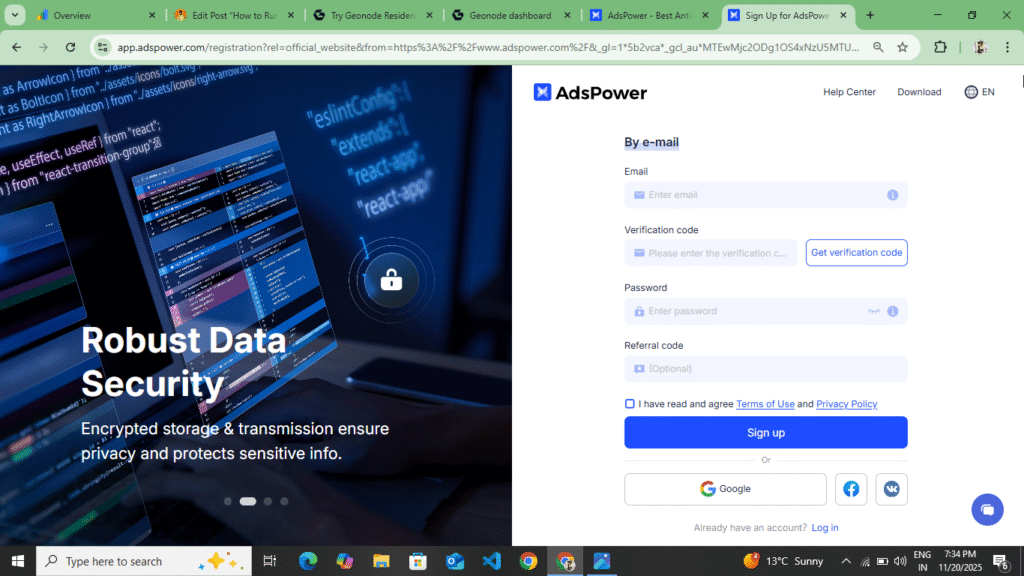
- Now after installing AdsPower, you have to open AdsPower. After opening it, first of all you have to enter your Gmail and your password, then confirm the password and a code will be sent to the Gmail which you had added. By entering that code you have to create your account.
- Now to create an account, first of all you have to open Temp Mail and copy a mail from there. Now after copying it to Gmail, you have to add it here. After adding, you will see the option of Get OTP, click on it. Now go back to Temp Mail. There you will see a code, copy that code. After copying the code, you have to come back to AdsPower and enter the code there. After entering the code, you will fill your password, confirm password and captcha and see the option of Create Account, click on it.
- Now as soon as you click on the Create Account option, your account will be created and you will see the Profile option there. You can create your profile from here. You will see the Help option, the Settings option and here you will also get the option to select your device.
Now we have explained to you how you can buy a proxy from GeoNode, how you can create your account on GeoNode, which plan you have to buy on GeoNode and how to buy it. After this, we told you how you can create your account on AdsPower, how to buy a proxy after creating the account and what types of options you get to see here. Now we will tell you how you can add and run GeoNode’s proxy on AdsPower. Just like we add this proxy on AdsPower, similarly you can also create it on BitBrowser, GoLogin and Octa Browser. You can create it in this way in any browser you use.
How To Run GeoNode Proxy In AdsPower
You can run GeoNode Proxy on AdsPower by following these steps:
- First of all, open your browser once and open the account with which you had created your account on the GeoNode website. After opening it, login to your account. After login, you will see the plan which you had purchased here. Now you will see a three-line option in the site bar, click on it. As soon as you click, you will see the button of Residential Proxy in the side bar, click on it.
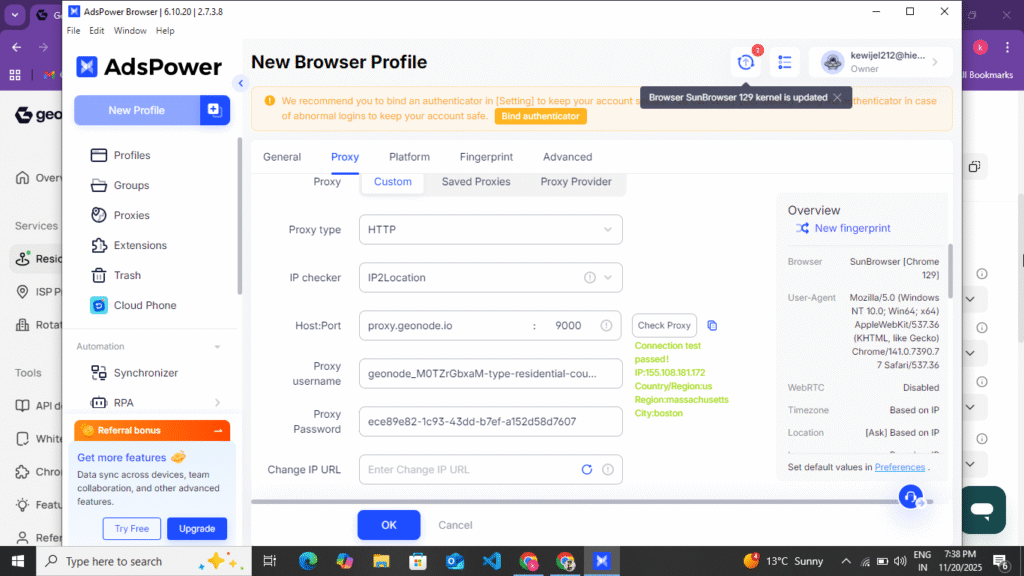
- Now as soon as you click on it, you get to see the Ip/DNS option at the bottom, in which you get to see the username and password, you do not have to tamper with it in any way, after that you get to see the proxy code figure option, behind it you get to see the IP type in which you have to select residential, after that you get to see the gateway option in which you can select any country and at the bottom you get to see the country targeting option, in which you have to select the country you want to target, I have to select the United States, so I select that, after that you get to see the state targeting option, if you want to target any state, then select it, otherwise leave it, if you want to target the city, then select it too, otherwise leave it and if you want to target Asian ISPs, then do it, otherwise leave it, after that you get to see the protocol option in which you have to select HTTP/HTTPS and after that you have to select in seasonal type If you want to select rotating, then I have selected all this, now at the top you get to see the option of more points format in which you have to select your host name, port name, username and password.
- Now after doing all this, you have to copy that proxy, after copying the proxy, you have to open AdsPower, create your account in the same way as we told you, after creating the account, you will see the option of create profile, you have to click on it, as you click, first of all you have to enter the name of your profile, after entering the name of the profile, you have to come down and here you have to select the browser, in which you have to select browser 129 and if you want to select window browser Lunex and Android or Ios, then you can also select that of your device
- Now after selecting the device, you have to come down and you will see the option of custom proxy or manual proxy, you have to select it, after selecting, you have to select HTTP at the bottom and after that the proxy which you had copied here in the format in which I had told you a format Post Name, PortName, UserName, Passwords, whatever you had copied on its basis, you have to paste it here as it is and on the back side you will see the option of check proxy, click on it, yes the proxy of the country which you had added here will be visible to you here and in your Siderber you will see the option of create fingerprint, click on it and on the bottom side you will see the option of create profile, click on it
- Now your proxy is connected here and the profile is also created, now you will see the option of Run or Open, you have to click on it, as soon as you click on it, you will see the IP Score status of your proxy here, now to see this you have to search IP Score in the new tab and you will be able to see your IP Score and all the information here and after this you can login to any account and manage it from here.
In this way, you can run GeoNode’s proxy on AdsPower. If your proxy does not run here, then you have to copy and paste the Host Name, Port Name, Username and Password separately or if you keep the Post Name, Host name and Username Password in this method, it will also be pasted correctly.
Some Words In GeoNode And AdsPower
While purchasing GeoNode proxy, you have to read all the information carefully and while running on AdsPower also you have to check your IP Score. If you follow this information correctly then you can easily create your account on GeoNode and AdsPower and buy the right plan and create and run your proxy. You should not use the proxy for wrong purposes, here you have to use it properly, this will save your account from getting blocked. You can use these proxies for affiliate marketing freelancing. GeoNode proxy provides you a reliable proxy and you get more views at a low price. Here you do not face the problem of IP leak or IP block and on AdsPower you can create a new fingerprint and keep your IP hidden.
Disclaimer :- This blog post on GeoNode Proxy and AdsPower is not a sponsorship or promotion of any kind. This information is for the information of the users and there is no wrong information written in this blog post so that these proxies are not used for any wrong purpose.