
In today’s digital and automated world, multi-account management has become a common need. Whether you are an affiliate marketer, e-commerce seller, dropshipping, Facebook Ads Expert, TikTok Expert, or a marketer or an agency that runs 50 to 100 accounts, you need an anti-detected browser everywhere that keeps the fingerprint of each account separate, keeps the IP and account secure, runs the proxy smoothly, and shares it with team members. One of these powerful and easiest anti-detected browsers is BitBrowser. In this article, I am going to give you a complete review of what Bit Browser is, what are its features, how does it work, how to install it, how to run a proxy in it, and how does Ads Power compare to BitBrowser. We are going to tell you about all this in today’s blog post.
What is BitBrowser
There is such an Anti-Detect Multi-Login Browser which allows you to run multiple accounts on a single computer without any track link or fingerprint match. If we understand it in simple language, then it creates another browser fingerprint for each of your accounts, due to which websites like Facebook, Google or TikTok, Amazon are never able to understand and you can run 50 accounts on a single device. This is called Anti-Detect Multi-Login Browser because it hides your real and hardware details, changes your browser fingerprint and changes your IP to the region through proxy and all the profiles are completely isolated from each other. If you run multiple accounts, then this tool can be very good for you and your accounts can be saved from getting blocked.
AdMaven Best Ads Network And Monetize Website Full Review :- Read More
How BitBrowser Works
BitBrowser creates a virtual identity for you like new hardware ID, new ASS fingerprint, new web jail, new canvas fingerprint, user agent, browser version, new IP proxy. Each profile works like a virtual computer, which helps in managing your accounts and prevents any type of account blocking.
How To Download BitBrowser
Downloading Bit Browser is very easy. You can download it by searching on Google. If you want to download this browser, you can download BitBrowser by following the following points.
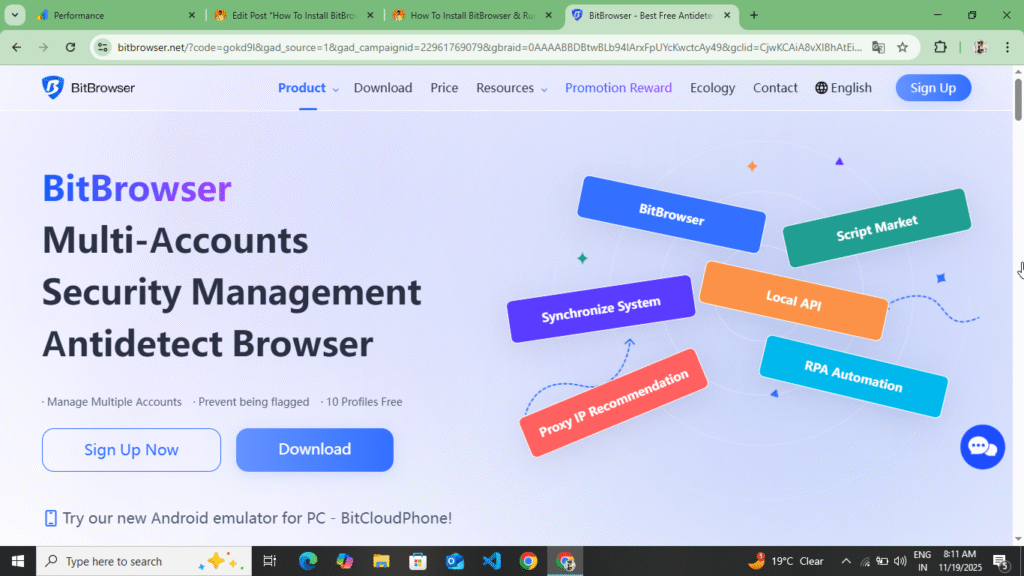
- First of all, you have to open any of your browsers. After opening it, you have to search for BitBrowser at the top. As soon as you search for BitBrowser, you will get the first website, you have to open that website or at the end of this blog post, you will see the website to download BitBrowser, you have to click on it.
- Now as soon as you reach the official website of BitBrowser, you will get to see their plans there. You have to choose the free plan and check once whether this browser is correct or not, whether the IP score is coming correct or not, for that you can use the free plan.
- Now you should read and see all the information here once and only after that download this browser. Now before downloading, you have to create your account here, you will see the sign up option at the top.
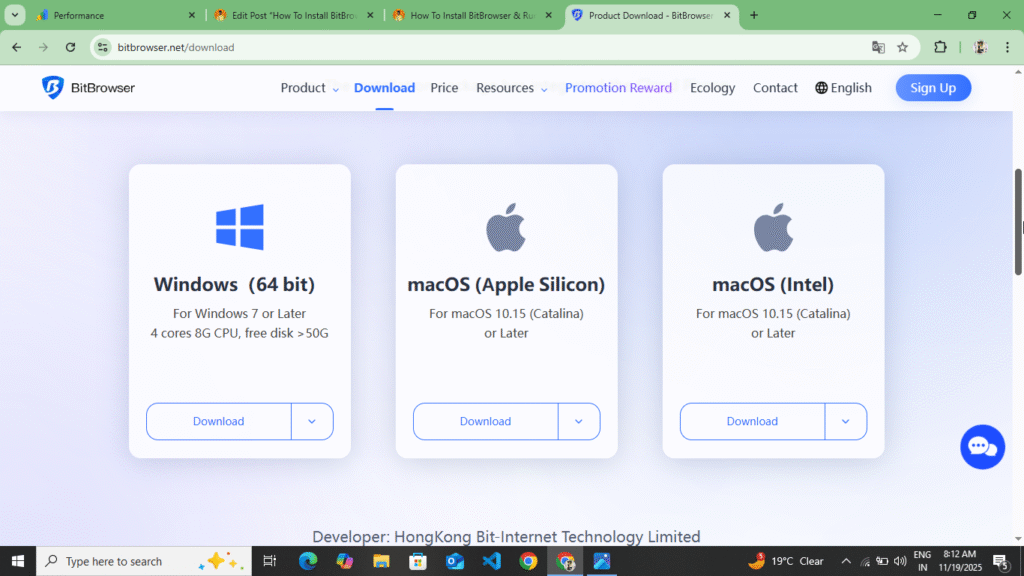
- Now to download, you will see the download option at the top, you have to click on it, after clicking on it you will be redirected to a new page, there you have to select the type of laptop in which you want to download like Windows, Lunex and IOS or Apple, for example, if I have a Windows then I will select the Windows one and download it.
- Now as soon as you download it, it will be downloaded as a file in your laptop or desktop. Now you have to access that file in your file manager and you have to extract it.
- Now as soon as you extract that file, you will find the BitBrowser setup file in it. Run that file. As soon as you run it, you will see the install option. Click on it. As soon as you click on it, this browser will be downloaded in 2 to 4 minutes and will start showing on your desktop.
- Now as it shows you, you have to open it and login to the account you created on the website. If you had not created it there, then you will see the complete steps to create an account below and you have to follow them.
So in this way you can download BitBrowser browser and create your account. If you do not understand here how to create your account, then complete information is given below. By following them you can create your account and run the proxy.
How to create an account on BitBrowser
Follow the steps below to create an account on BitBrowser.
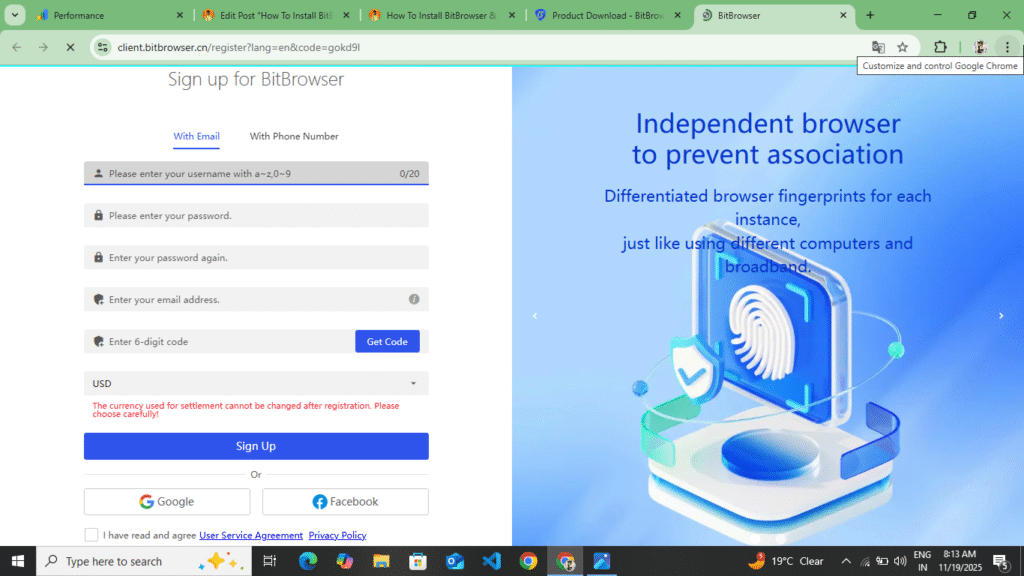
- After downloading the BitBrowser app, you are not given access to create an account there; you only get to see the Login option there, so you have to come back to the website once and you will see the Sign Up option at the top, you have to click on it.
- Now as soon as you click on the sign up option, you have to first enter your Username, then Password, then Confirm Passwords, and after that you have to enter your Gmail and click on the Get OTP option. Now the Gmail which you had added here will receive a mail on Gmail. In that mail you will receive a 6 digit code. Enter that code and fill the captcha at the bottom and click on the Create Account option. Now your account will be created here.
- Now, as soon as your account is created here, you have to come back to your BitBrowser app and login by entering the Gmail and password that you had entered there.
- Now as soon as you login to your account, your Dashboard will open and in the sidebar you will see various options like Browser History, Browser Dashboard, Profile, Clone Mobile and Help. Here you will also get the option of Referral.
Now here you can create your account in this way and login to the account and you can access all the options here. Now you have understood how to create your account, how to download BitBrowser and how to install BitBrowser by extracting the BitBrowser file. Now you understand what BitBrowser is.
After downloading, how can you create a proxy here, run the proxy and how can you check the IP score, so read the information given below once again.
How to Create and Run a Proxy on BitBrowser
Follow the steps below to create and run a proxy on BitBrowser.
- First of all, you understood how you can download BitBrowser. After downloading, how can you install the browser on your laptop and Windows and how can you create your account. Now, after creating the account, you should understand how you can create your profile here and how can you create a proxy.
- To create a proxy, first of all you have to open your BitBrowser. After opening it, you will see the option of Create Profile in your side bar, click on it. As soon as you click on it, you will see a button at the top called Add Profile, click on it.
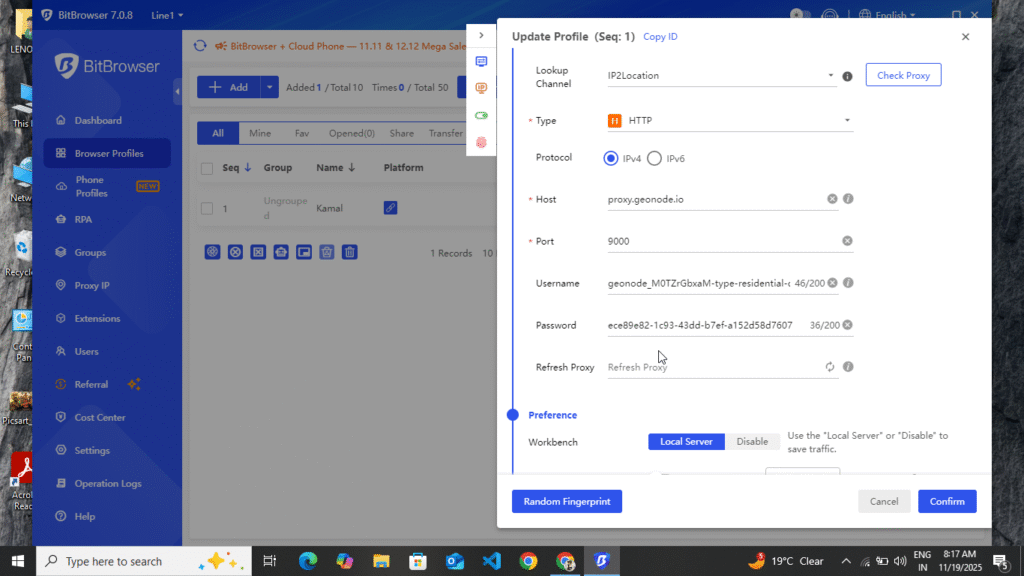
- Now, as you click on the option of Add Profile here, another panel will open in the side bar. After entering the name of your profile in that panel, first of all you have to come downwards. After coming downwards, you have to select the IP2 location. After selecting it, you have to select HTTP. After selecting this, first of all you have to enter your Host Name, then Port Name, then Username, then Passport and click on the option of Check Proxy. As you click on the option of Check Proxy, you will see the location of the country where you have added the proxy. Now you have to come downwards and you can select desktop, mobile and Linux. After selecting your device, you will see the option of Random Fingerprint, click on it and click on the option of Create Proxy.
- Now your proxy will be created here, you will see the option of open in front of your profile, you have to click on it, as soon as you click on it, your profile will run here, as soon as the profile runs, you have to search Ip Score in the browser of your profile which opens, as soon as you search Ip Score, the first website that appears will be visible, click on it and open the official website of IP Score and there you can see how much IP score is coming on your IP and what is the score on it.
So in this way, you can create your proxy here and after creating the proxy, you can run it, select the device and also select the RAM and ROM of the device and after running the proxy, you can also check its IP score.
BitBrowser v/s AdsPower
| Features | BitBrowser | AdsPower |
| Ease Of Use | Very easy | Complex for beginners |
| Pricing | Cheap | Costly |
| Proxy Setup | excellent | Excellent |
| Fingerprint Quality | high level | High |
| Automation Tools | medium | Very Advance |
| Team Sharing | Yes | Yes |
| Speed | Fast | Heavy |
| Mobile Simulation | Good | Best |
| Browser Profiles | Unlimited | Limited to some plans |
| Best For | Beginners and marketers | Agency and Automation Use |
Some Words For BitBrowser
After reading this blog article, you can easily download BitBrowser. After downloading, you can create and run your own proxy on BitBrowser and change your IP score. With BitBrowser, you get multi-account management and real fingerprint protection. Along with fast and lightweight proxy integration and affordable pricing, you also get the option of cloud backup and team qualification. You can also access these. Using BitBrowser, you can access your multiple accounts and prevent them from getting rusted. It also has several disadvantages, such as you don’t get automation tools like Ads Power, and the mobile device simulation is a bit basic. Some features that you get for free on AdsPower are available here only at premium. Using this browser, you can run app marketing, dropshipping, FacebookUp, Facebook Apps Expert, and TikTok automation, as well as a freelancing CPA marketing agency. If you liked this blog post, please leave a comment on this blog post and share it with your friend. Must share
Disclaimer :- BitBrowser review is not a sponsorship or promotion of any kind and it is not right to use it for any kind of wrong purpose. This blog post does not provide any information about its misuse. You can use it to rusticate your account and for affiliate marketing, drop shipping, Facebook Ads Expert and TikTok automation.