In today’s digital age, every website owner or blogger wants to earn some revenue from their website, but for some reason, they are unable to get Google AdSense approval. However, when it comes to Ads Alternative, choosing the right platform can be a bit difficult. Because there are many ad platforms on Google that allow you to monetize your website but do not pay you. To solve this, we have brought you an Adsense Alternative website today. If you also want to monetize your website and are looking for a reliable network other than Google AdSense, then HilltopAds could be a great website for you. In this blog post, we will explain what HilltopAds is, how it works, how to create your account, how to verify your website’s approval and ownership, and how to make ads live after your website is approved. Read this blog post completely and share it with your friends whose websites are not being monetized.
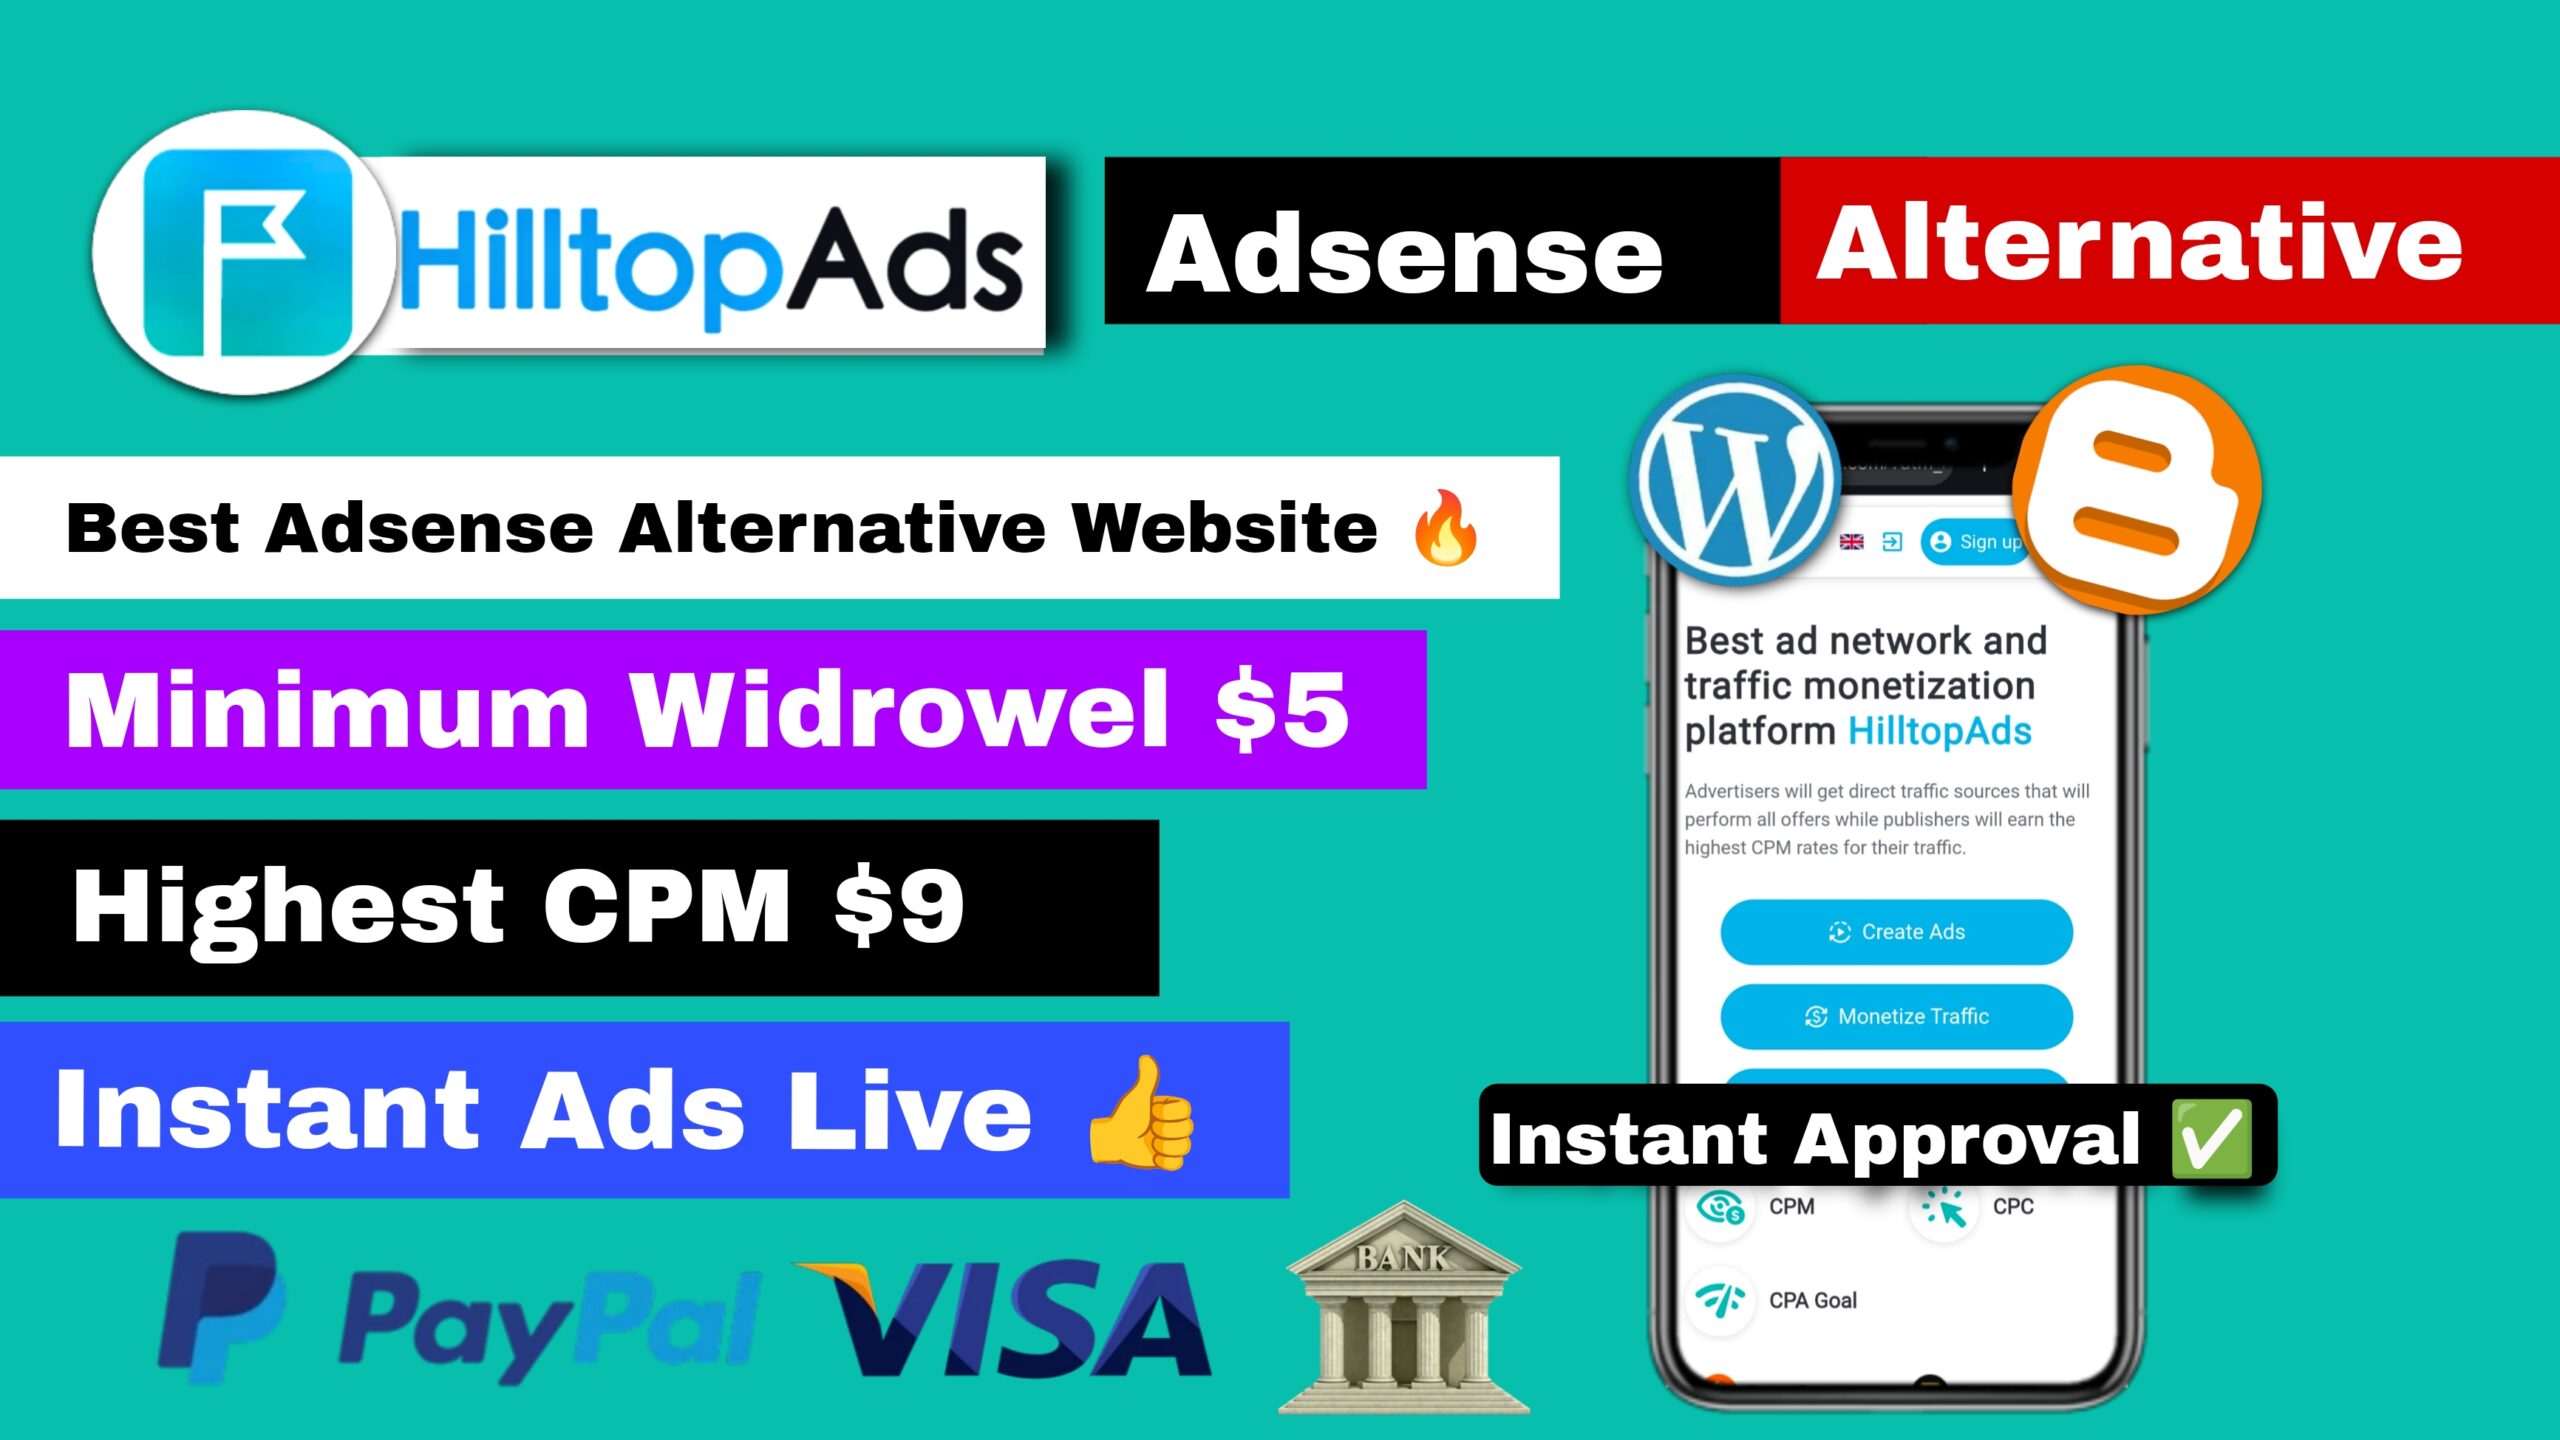
What Is HilltopAds
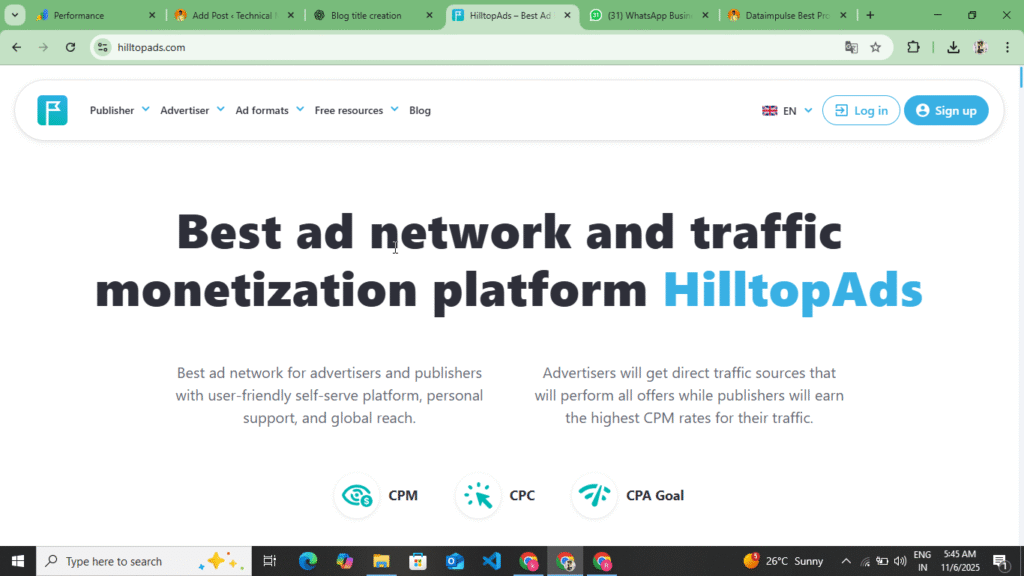
HilltopAds is an international advertising network that connects both website owners and advertisers. This platform gives you the opportunity to earn money by showing various types of ads on your website or blog. Those who have a website and want to generate leads on their website and get the app installed, for which they have also created an advertising platform in which they can generate traffic and leads on their website by placing advertisements.
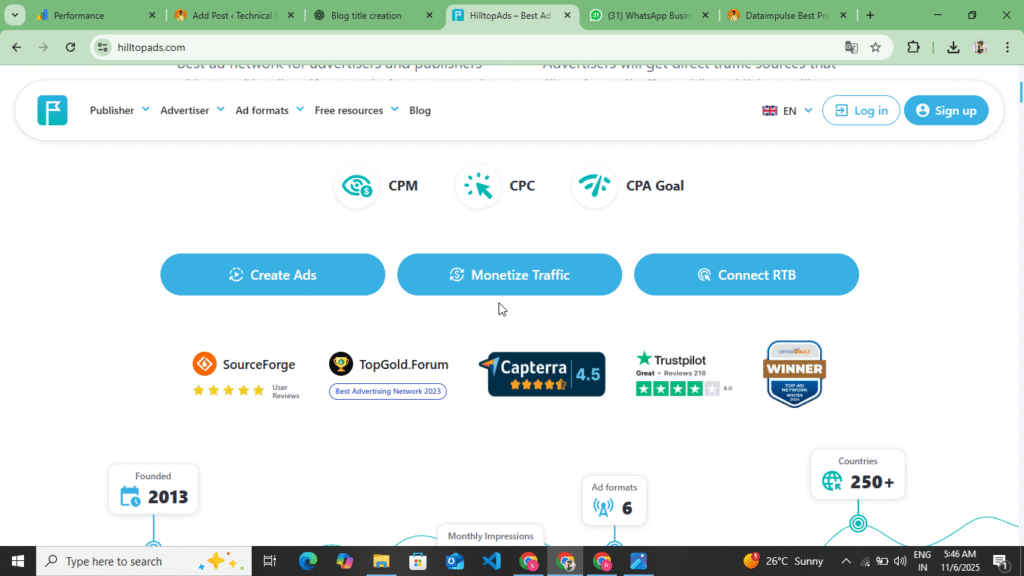
It was started in 2012 and today it has users in 200+ countries. The special thing about HilltopAds is that it also gives opportunity to small blogs and new website owners. Whereas getting approval in AdSense is a bit difficult, but with HilltopAds you easily get approval in a day and on the same day you can monetize your traffic by making your ads live.
How HilltopAds works
The way HilltopAds works is very simple, it places ads on your website and when the user sees or clicks on those ads, then you get revenue and if you want to run ads on your website, then the ads that you add here are shown on the website of those whose website is monetized and if any user goes to their website and clicks on the ads, then that website and the ads that are running your ads are redirected to the website of the ads, so this is how it works.
Its system is divided into two parts :-
- Advertisement: – Those who want to promote their product or website and want to generate leads for their website and want to increase the traffic on their website, then they create their account in advertisement and by creating it in advertisement they increase the traffic of their website and the ads that you place here are shown on the website of those who monetize their website and the user who clicks on the ads of that website then that user gets redirected to your website for which you are running the ads.
- Publisher :- Publisher means the owner of the website who earns money by showing ads on his site. The user who creates his account in advertising and runs campaigns there to promote his website, the company’s ads are shown on the publisher’s website so that the publisher can get revenue.
When the two are combined, HilltopAds handles the ad delivery and payment systems in between.
Dataimpulse Best Proxy Buy Website In 1GB Just $1 With Full Review :- Read More
How to Generate Revenue with HilltopAds
There are many ways to earn money on HilltopAds. It pays the publisher not only on the basis of clicks but also on the basis of impressions and clicks. When the ads get clicked, the user is given more revenue. Here you get the option of CPM, CPC and CPA. Here you get revenue based on impression clicks. Here you also get to see a minimum withdrawal of $5, which is the lowest.
Below are some of the major revenue models that you can understand and how you are paid.
- CPM (Cost Per Mile):- In this, you get paid for every 1000 impressions. If your site has a lot of traffic, then this can be a very good option to generate revenue.
- CPC (Cost Per Mile):- When a user clicks on the ads displayed on your website, you get a fixed revenue and this revenue is more than CPM.
- CPA (Cost Per Action) :- When a visitor clicks on an ad and takes an action, such as signing up or making a purchase, you see the most revenue here.
- Popunder Ads :- These are ads that open in the background when you click on a link. Their CPC and CPM rates are usually quite good, and they generate good revenue. However, the biggest problem is that your website traffic decreases slightly due to redirects, and user trust in your website also decreases. Therefore, this ad network needs to be used sparingly.
How to Create an Advertiser Account on HilltopAds
You can create two types of accounts on HilltopAds. First, an advertising account through which you can promote your website and bring traffic to your website. If you want to generate leads, then create your account in advertising. Another account is the one on which you can monetize your website and earn revenue. First, you should understand how to create your account in advertising. To create an account in advertising, follow the following points.
- First of all, you have to search for HilltopAds on Google and you will find its website on number one or two, click on it or you will find the website at the bottom, click on it, as soon as you click, a website will open in front of you.
- Now you will see the advertisement option on the top, you have to click on it, as soon as you click on it, all the information about the advertisement will appear in front of you, what type of ads you get to see, how to add the payment here and how you can create the campaign after adding the payment, how to make the campaign live and how to redirect the excess traffic, you have to read all this information once, after that you have to create your account.
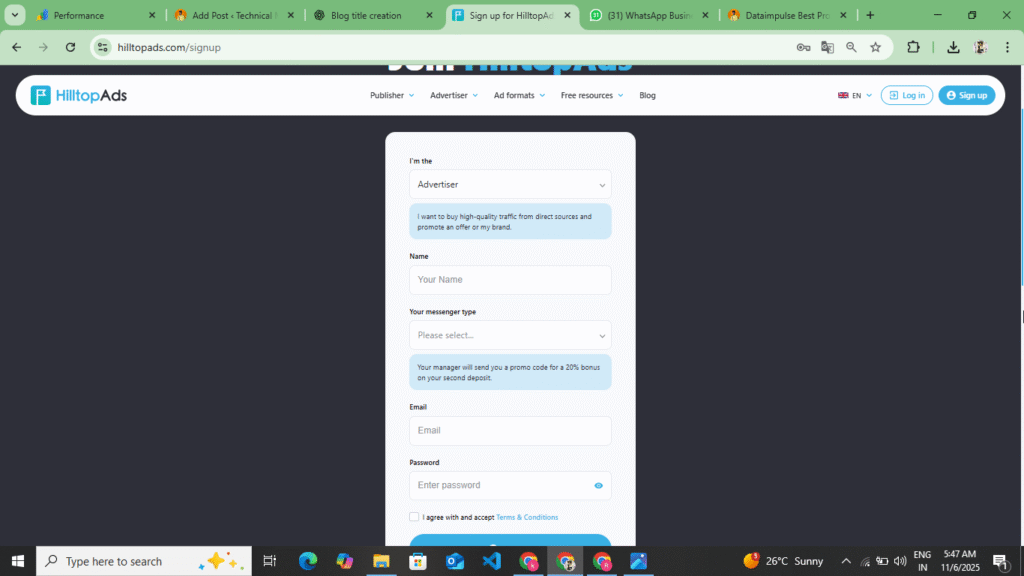
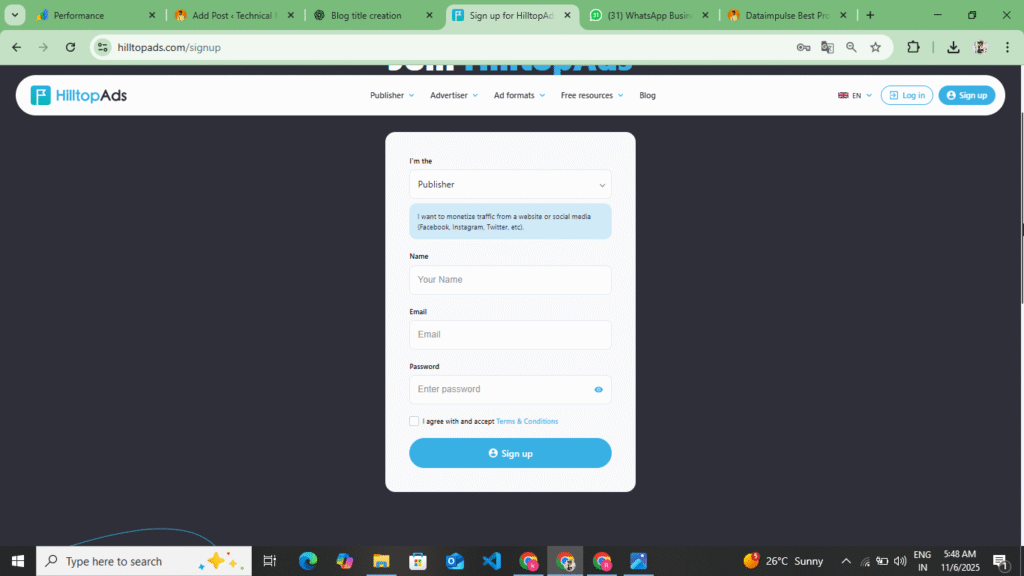
- Now to create an account, you will see the sign up option at the top, click on it. As soon as you click on it, you will see two options here: Publisher and Advertisement. You have to select Advertisement and click on the Create Account option.
- Now you have to enter your name, your email address, password and their privacy policy. Before filling all these, you will see the option of I Am In at the top, click on it and select the advertisement. After selecting the advertisement, enter your name, your email address and password, and after entering their privacy policy, you have to click on the sign up option.
- Now as soon as you click on the sign up option, you will receive an email on your Gmail. You have to open the Gmail which you had added here and verify your account through the email received. Now as soon as you verify your account, a dashboard of advertisement opens in front of you and there you get to see the dashboard statistics and profile and payment and billing options.
- Before creating a campaign, you need to click on the Payments & Billing option and add the payment. You can add a minimum of $100 here. You can make this payment using USDT, Crypto, PayPal, Wire Transfer, Credit Card, or Union Pay.
- After adding the payment, you have to create the campaign. To create the campaign, you will see the option of create campaign here. By clicking on it, you will get to add the title of your website, the URL name of your website and if there is an app, then the name of the app and the URL of the app. After adding this, you will see the option of CPM, CPC, CPA at the bottom. You have to select one of those three. If you select CPM, then when you have the payment, it will be deducted on the basis of impressions and if you select CPC, then it will be deducted on the basis of clicks and if you select CPA, then your payment will be deducted after creating the account. Out of these, you have to select one as per your convenience and which ads do you want to show here? Here you get the option of Display Ads, Popunder Ads, Video Ads and Banner Ads. You have to select one of them.
- Now after selecting all this, you have to upload an image here which is related to your website and the app. After selecting that image, you have to make the campaign live and after approval in a short while, traffic will start coming to your website.
So in this way you can create your advertising account on HilltopAds and add the payment here and make the campaign live. You have to add a minimum of $100 on HilltopAds and the maximum you can do is any amount. While creating the campaign, you have to keep in mind that it is important to select CPC, CPM and CPA, otherwise your payment will also go waste and your website will not get much traffic. So you have to take special care of this, after that you have to make your campaign live and along with this you have to select your target country as well.
How to Create a Publisher Account on HilltopAds
First of all, we explained to you how you can create your account in Advertisements and after creating it in Advertisements, how you can create your campaign. Along with creating the campaign, we also told you how you can add your payment, how you can make the campaign live after adding the payment, how you can increase more traffic. Now you understand how you can create a publisher account on HilltopAds. To create a publisher account, follow the following points.
- First of all, you have to search for HilltopAds in any of your browsers. You will also find the website at the bottom. By clicking on it, you will be redirected to its website.
- Now after coming to the website, you will see the option of both Advertisement and Publisher here. You have to click on the Publisher option at the top.
- When you click on the publisher option, you’ll see complete information about the publisher, including the types of ads you’ll see, how your payment is transferred to your account, and the minimum and maximum withdrawal limits. You should read all this information before creating an account.
- Now to create your account, you will see the Sing Up option at the top, you have to click on it. As soon as you click on the Sign Up option, you will get to see all the information and an account creation form will open in front of you. Now you have to fill in all the information asked in the form.
- Now in that form, at the top, you will see the option of I Am In. By clicking on it, you have to select the publisher because we have to monetize our website here and we are the owner of that website, so for that, you have to select the publisher option at the top. At the bottom, you have to enter your name, enter your full name and expect their privacy policy by entering your email. You will see the sign up option at the bottom, click on it.
- Now as soon as you click on the sign up option, you will receive a mail on the Gmail which you had added here, you have to verify your account through that mail, as soon as you verify your account, you get to see the option of dashboard, statistics, payment and profile in the sidebar, along with this you also get to see the option of referral, you can earn up to 30% revenue by referring a user.
- Now, to add your website, you also get to see the option of Add Website here or you get to see the option of Website, as soon as you click on it, you get to see a button Add Website, you have to click on it, as soon as you click on it, you have to enter the title of your website and the URL of your website and click on the option of Next.
- As soon as you click on the Next option, you have to verify the ownership of your website. Here you can verify the ownership in two ways. The first way is to download the file from here and upload it in the root file of your website and one is through Meta Tag. You have to select the Meta Tag and copy that tag. After copying, if your website is of Blogger then paste it below the Head Tag and if your website is on WordPress then you can also paste it in the Head Tag by installing the plugin or you can also paste the code of your website by going to the theme file editor.
- After pasting the code, you need to return to HilltopAds and click on the Verify option. As soon as you click on the Verify option, your website’s ownership will be verified. After the ownership is verified, you will also see the Generate Ads Code option. Click on it.
- Now here you get to see Display Ads, Native Ads, Popunder ads, Video Ads, select any of them or select all the ads and generate the Ads Code.
- Now after generating an Ads Code, you can place the Ads Code according to where you want to display the Ads on your website. To place these codes, you can use the Ads Insert Plugin on WordPress and to display them on the Head Tag, you can place the Ads below the Head Tag, below the Body Tag and in the Sidebar and paste the code.
- Now after placing the Ads Code here, your Ads will go live instantly and will start showing on your website. Now whatever traffic comes to your website, you earn here on the basis of that traffic. Now to withdraw the payment, you have to come to HilltopAds. As soon as you get the payment of $5, it happens in a time period of 10 to 15 days. After that, after the time period is over, you can transfer this amount to your Paypal, Bank Account, Paxum, Payoneer. If you want to do it through Paypal, then you will see the payment option here. Click on it and select any one method. Now, as we have selected Paypal, then you have to add it here by entering Paypal Gmail at the bottom. After adding, as soon as your time period ends, $5 is withdrawn from your account without any charge.
Now in this way, you can create your account here in Publisher and monetize your incoming traffic and earn revenue through that topic. Here you easily get stand approval. Those who do not get approval for Google Adsense can use it. Here you also get the option of Display Ads, Native Ads, Popunder Ads, Video Ads. You can place them on your website and monetize the traffic. Here you get a minimum withdrawal of $5. As soon as you complete $5, it is transferred to your account. This transfer is done in Paypal or Payoneer Wire Transfer. You can get it done in any way as per your convenience.
Types Of Ads In HilltopAds
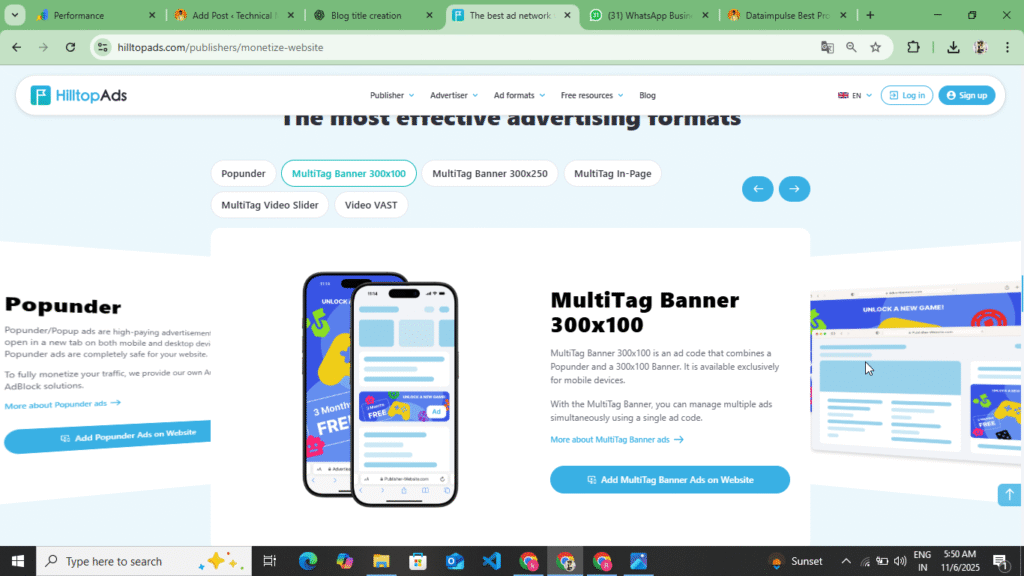
You get to see many types of ads on HilltopAds, just like you get to see ads on Google Adsense, you get to see the same type of ads here too. Here you get to see display ads, banner ads, industrial ads and video ads and here you get to see ads in the side bar and in these ads you get revenue according to low CPC, CPM, CPA, on which you get more revenue, information about all these is given below.
- Display Ads :- These ads are placed on the header and footer. You can also add them to the content. In these ads, you earn on the basis of impressions, which means you get to see CPM here. For 1000 impressions, you earn up to $1-$2. You can increase the impressions by placing it in the head and footer.
- Popunder Ads: – This ad is the most popular ad, in this ad you get to see all three CPM, CPC, CPA and in this old time CPC is high and you also get to see more earning in this but if you place this on your website then your traffic may reduce a little bit because wherever there is a click on this on your website, it redirects the user to a different website due to this
- Video Ads: – In this you get to see video ads. In video ads you get CPM, here you get revenue based on impressions. You can add this ad in the side bar or you can also add it in between the content.
- Banner Ads :- Here you can see banner ads of various sizes. You can see CPM in Banner Ads and you can add these ads above the image, below the image, in the middle of the content and before the content.
You get to see these ads on the HilltopAds website. If you create your account in the publisher, then you can monetize your website and put these ads on your website. And if you create your account in advertisement and add your website here for promotion, then you can add these ads to your website and by uploading the image, you can make Banner Ads and Popunder Ads by adding the website link and by making a video of your website and putting it live, you can make video ads and create a campaign. In this way, by creating your account in advertisement and publisher, you can put these ads and increase the revenue and traffic of your website.
HilltopAds vs Google Adsense
| Features | HilltopAds | Google Adsense |
| Approval Time | 24 – 48 Hours | several days or weeks |
| Minimum Payout | $5 | $100 |
| Payment Frequency | Weekly | Monthly |
| Ads Type | Popunder Ads, Push, Native Banner, Video Ads | Display, Video |
| Suitable For | Small & Big Website | Mostly Established Sites |
Some Words For HilltopAds
HilltopAds has several features that set it apart from other networks. Here you get high CPM and fast payments. It gives you the best CPM rate in the market and makes your payment weekly. It supports traffic from almost every country, which helps you earn good revenue from your global website. Along with this, you get to see many types of ad formats here, such as Popunder Ads, Display Ads, Native Ads, Video Ads. Here you get real-time statistics, earnings, clicks, and traffic reports. This technology tries to show ads only if users are using Ad Block. If you don’t get Google AdSense approval here, then if your website has basic traffic and content, Hilltop Ads gives approval very quickly. Because of this, the HilltopnAds website is different from the rest. Here you get instant approval. You can easily use it and you are paid here weekly. Along with this, the minimum withdrawal amount is $5. The maximum you can withdraw is as much as you want. You can do this and if you want to join their referral program, then as soon as you create an account, you will get a referral link here, by promoting that link you can earn up to 30% commission from here and if you do not have a website then you can also earn by promoting their direct link.
Disclaimer :- This website review is not a sponsorship or promotion of any kind. This website review is for the information of the users and those users who are unable to get Google Adsense approval can use these websites to monetize their website and monetize the traffic and earn some revenue from their website. For this, a complete review of this website has been done.